
 I've been meaning to make these ever since we moved into our current place but just never got around to it...'til now. I got the inspiration from The Purl Bee blog, which had a tutorial on how to make these. When I first saw the tutorial my first thought was to make some to put in my sewing closet to give and keep me inspired. But then I found out that we weren't allowed to paint a single thing in our townhouse unless approved by our property manager, who basically won't let us paint. Period (she had several bad experiences with previous tenants painting rooms outrageous colors). Even the simple idea of just painting the room's accents chocolate brown was nixed! So I've been trying to find ways to decorate the munchkin's room that didn't involve painting (right now his walls are bare...ugh!).
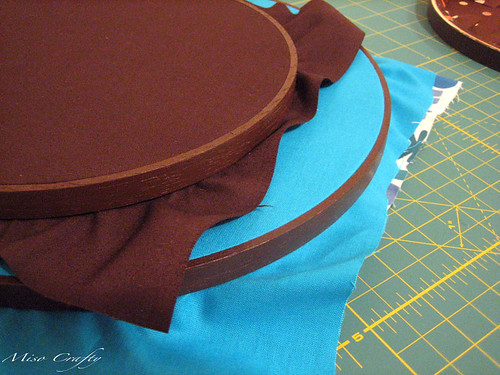 Work in progress
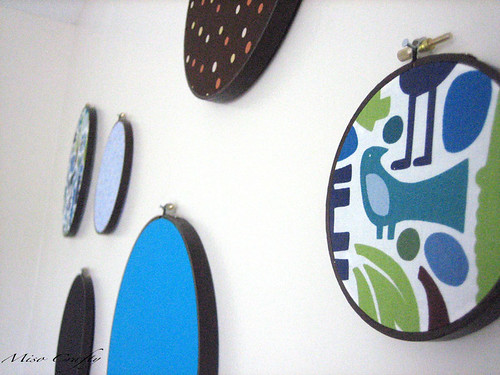 I was having issues with the nozzle to the bottle of my fabric glue, so I used regular old Mod Podge to glue the fabric to the back of the hoop. The rims on the inner hoop were so small that I questioned my gluing ability, so to make sure the fabric wasn't going to go anywhere I waited for the Mod Podge to dry before adding another thin layer of it to where the outer and inner hoops meet. These were pretty quick and easy to make and was quite the lovely project to do while taking a break from sewing and knitting.
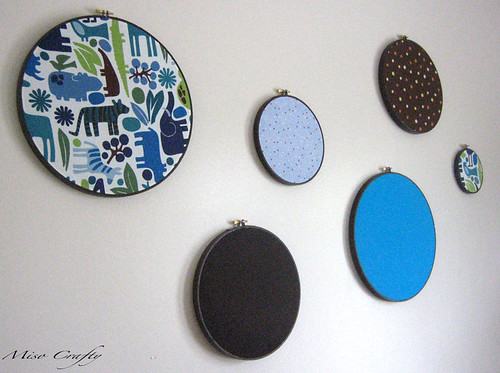
 I had actually made these a week ago, but didn't get the chance to hang them up 'til yesterday. Brett helped me put these up cause not only am I vertically challenged, but I wanted to make sure they were placed the way I had envisioned them to be in my head. I'm really happy with how these turned out, and the best part? When either the little one or I get sick of them or if I feel like re-decorating his room (before he discovers how he wants his room to look like, that is!) these are super easy to take down and be replaced with something else. No re-painting required! Yay! I like these so much that I'm still thinking of making a few for my sewing closet, using some of the fabrics that I absolutely love but am too scared to cut into.
Ahh...what a gratifying project! Now, what to do with the other walls in his room...?
PS: Sorry for the crap photos...the day was ugly and so it had casted bad shadows and made the room kinda dark. And I couldn't really get a good shot of the swatches dead on from the front without it looking all weird and stuff. Hence the side views. Oh well!
What great way to update a room. So quick and easy to make and change when the mood strikes. Love it!
ReplyDelete